To start out with, if you just want to integrate the effect into something else, I've created a shadertoy to demonstrate how easily the effect can be implemented on modern hardware. Click your mouse in the shader window to see what it would look like with a more common nearest-neighbor upscaling algorithm.
This kinda looks like a gittery, blurry mess! Why did they do out of their way to implement this? Well there are several reasons.
For all these reasons, I think this is a great match!
Let us do an example. Suppose you want to draw a rotated image to the screen. What you will have is a screen pixel at pixel coordinates (px,py) will want to be drawn with the color sampled from the texture at texture coordinates (tx,ty). For simplicity, I'll assume texture coordinates are so that integer texture coordinates coorespond to pixel values ((tx,ty) = (5,3) corresponds to the 5th pixel from the left on the third row). Once you've done a rotation or a scaling, there is no reason to assume that this texture value will exactly land on a pixel (indeed it will mostly not). Thus, we need some way to decide what color to look up for, say, (tx,ty) = (2.7,8.2)
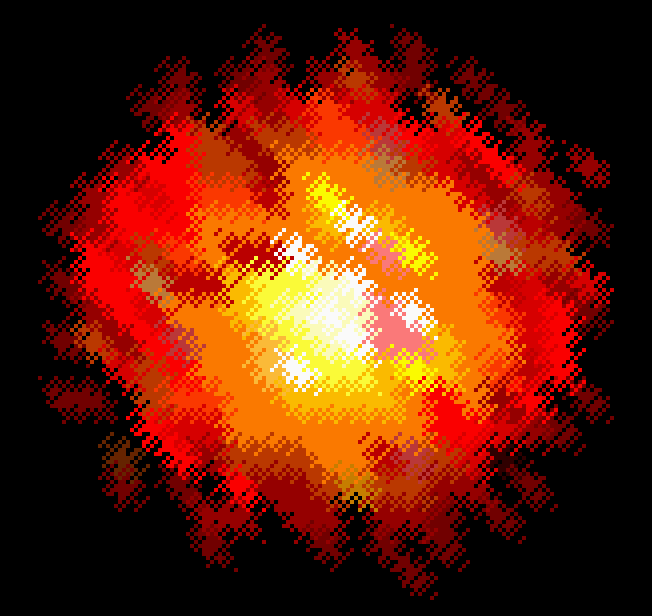
For a traditional nearest neighbor lookup, the algorithm is simple. You fix a threshold, for instance threshold = 0.5, and round up if it is larger than that, and down if smaller. In this case that would round to (3,8), which you can just lookup in your texture now. This leads to giant blocky pixels, as can be seen in this scaled up explosion texture.
What 25th Anniversary does is the simplest possible modification of this algorithm: they change the threshold on every pixel so that it still on average threshold up when it is above 0.5 and down when it is below, but the exact threshold depends on the pixel coordinates (px,py). Star Trek 25th Anniversary has a matrix of thresholds which is matrix = {8.0/9.0, 4.0/9.0, 6.0/9.0, 2.0/9.0, 7.0/9.0, 3.0/9.0, 5.0/9.0, 1.0/9.0}. Then, when you decide how to round at (px,py), you just lookup matrix[(px+py)%8], and use that as the threshold. So if we were rendering that same (tx,ty) = (2.7,8.2) texture lookup at pixel (px,py) = (5,3), then we lookup matrix[(5+3)%8] = matrix[0] = 8.0/9.0. In this case, the remainders are both below 8/9, so we round both down to look up the texture coorinate at (2,8). That same texture coordinate, if rendered to different pixels, would get rounded in different ways; if (px,py) = (5,7), then the threshold is 7/9, and both get rounded up to give the texture coordinate (2,8), and so on. This gives you this for that same texture.
And that's it! Well one tiny thing: it seems that they add a random shift for each texture drawn, so instead of (px+py)%8, they actually use (px+py+shift)%8 where shift is a unform random integer from 0 to 7 inclusive which is picked once per texture draw . That is to say, the enterprise is drawn entirely with one random shift, a planet with another, an explosion with another, and so on. This is needed for the stochastic transparency effect mentioned before.
So I didn't decompile the code or anything to discover this, it was a combination of luck, and careful observation. The format of the texture coordinate dithering I stumbled upon by accident when coding up something else, but I saw it clearly enough that I was sure the general structure was how 25th Anniversary did their rendering. The only open question was, what was the matrix?
Let's do a thought experiment. Suppose you're looking at a massively scaled up texture with a hard vertical line. Moving from left to right by this line will linearly increase the texture coordinates, and the theshold will be constant along diagonal lines. So, by looking at how far the diagonal lines extend when dithering this hard shift, you can extract the matrix by first looking at how many pixels it takes for the pattern to repeat (giving you the size of the matrix) and then measuring the lengths of the lines to see how far along you need to be before it rounds one way to another.
So I fired up my emulated game, and took this screenshot:

Then I zoomed super close on this part and started counting how long those lines are:
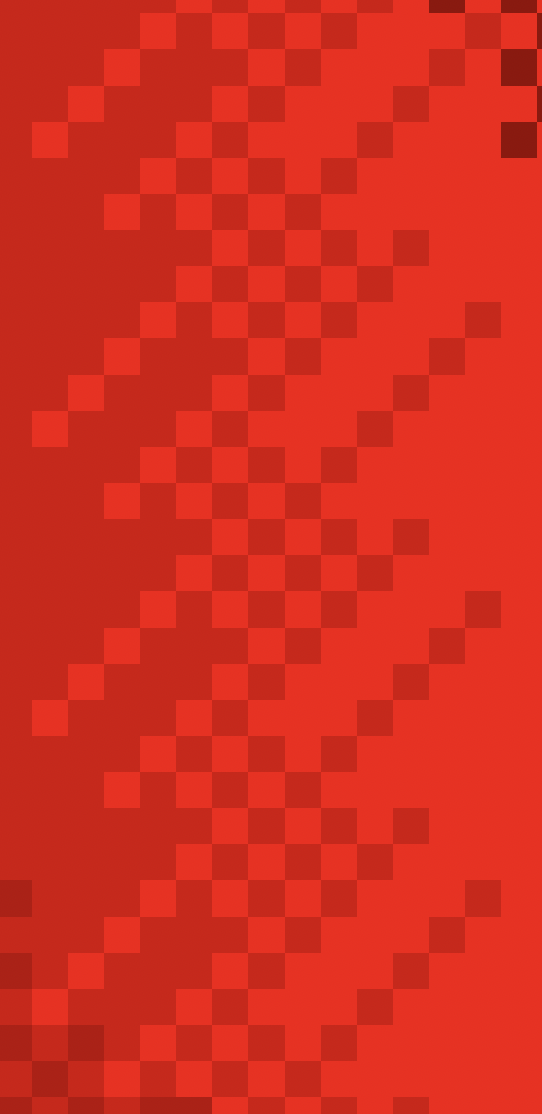
This is only accurate enough to give you the relative ordering, but if you assume that they are evenly spaced gives you the above matrix.
Now, why am I absolutely certain this is right? Well, this is actually a 1D Bayer dithering matrix! 2D Bayer dithering was an extremely common technique in the early 1990s, so these ideas would have been common. The way you can construct a 1D Bayer matrix is simple: start with a matrix which is just zero, then build the next matrix by doubling the values in the previous matrix, and then writing that matrix again plus one. So for instance the first few ones are:
0
0 1
0 2 1 3
0 4 2 6 1 5 3 7
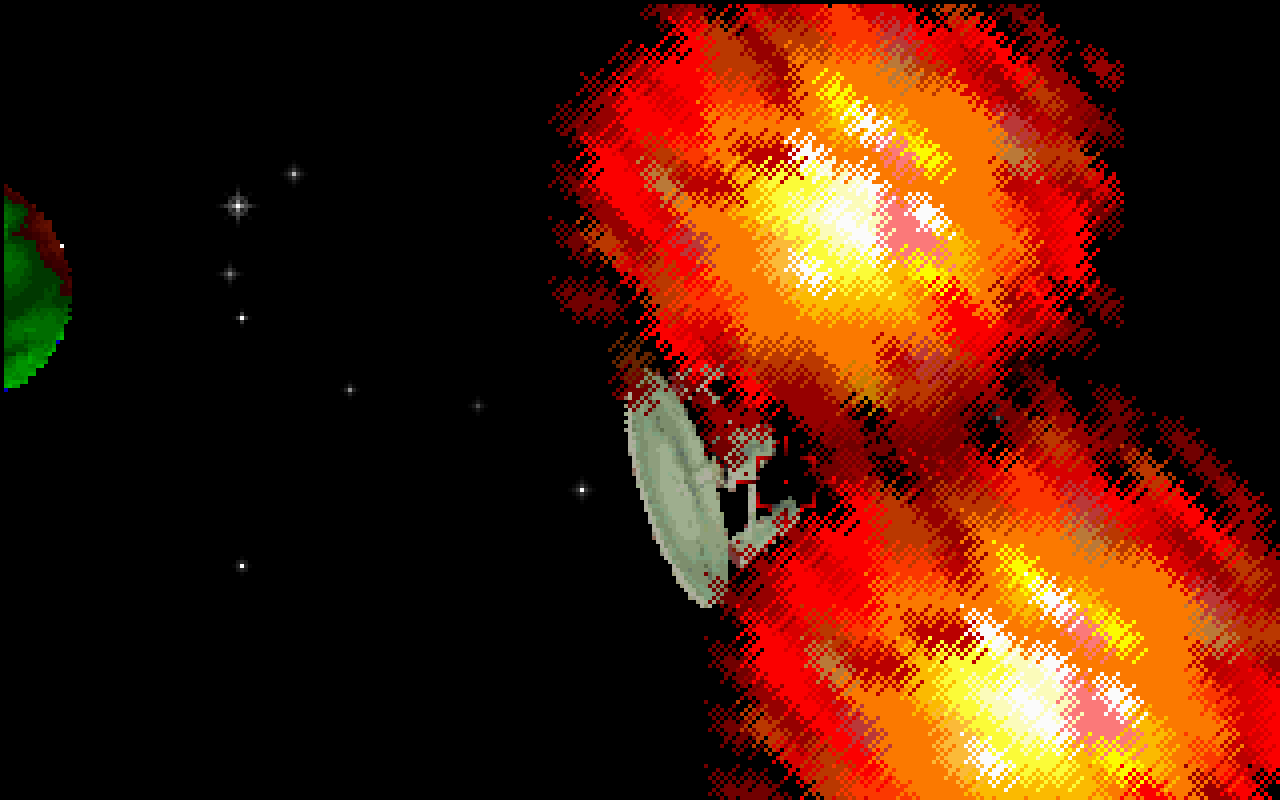
If you look at that last row, write it backwards, add one and divide by 9.0 (to make it equally spaced in [0,1]), you get exactly the matrix I measured. Thus I have both empirical measurements, and theoretical reasons this is likely the right matrix! Indeed, you can try to duplicate exact screenshots and get super-super close (perfect is hard since it depends on sub-pixel accurate texture coordinates). Compare the top-left explosion to the right one: